How to Install Laminate Flooring: A Step-by-Step Guide for DIY Enthusiasts in Cincinnati


Are you ready to transform your home with beautiful laminate flooring? Installing it yourself can be a rewarding project, and if you’re in Cincinnati, you’ll find everything you need locally. Whether you're sprucing up a single room or tackling the whole house, this step-by-step guide will help you get the job done right.
Gather Your Tools and Materials
Before you begin, ensure you have all the necessary tools and materials on hand. You'll need a laminate flooring kit, a saw (a jigsaw or miter saw works well), underlayment, spacers, a measuring tape, and a rubber mallet. Having these tools ready will make the installation process smoother.
Additionally, don’t forget to purchase the laminate flooring itself. Take accurate measurements of the room to determine how much flooring you'll need. In Cincinnati, you can find a variety of styles and colors at local home improvement stores.
Prepare the Subfloor
Start by preparing your subfloor. Ensure it is clean, dry, and level. Remove any old flooring and sweep away debris. If your subfloor is uneven, you may need to sand it down or use a leveling compound to create a smooth surface.
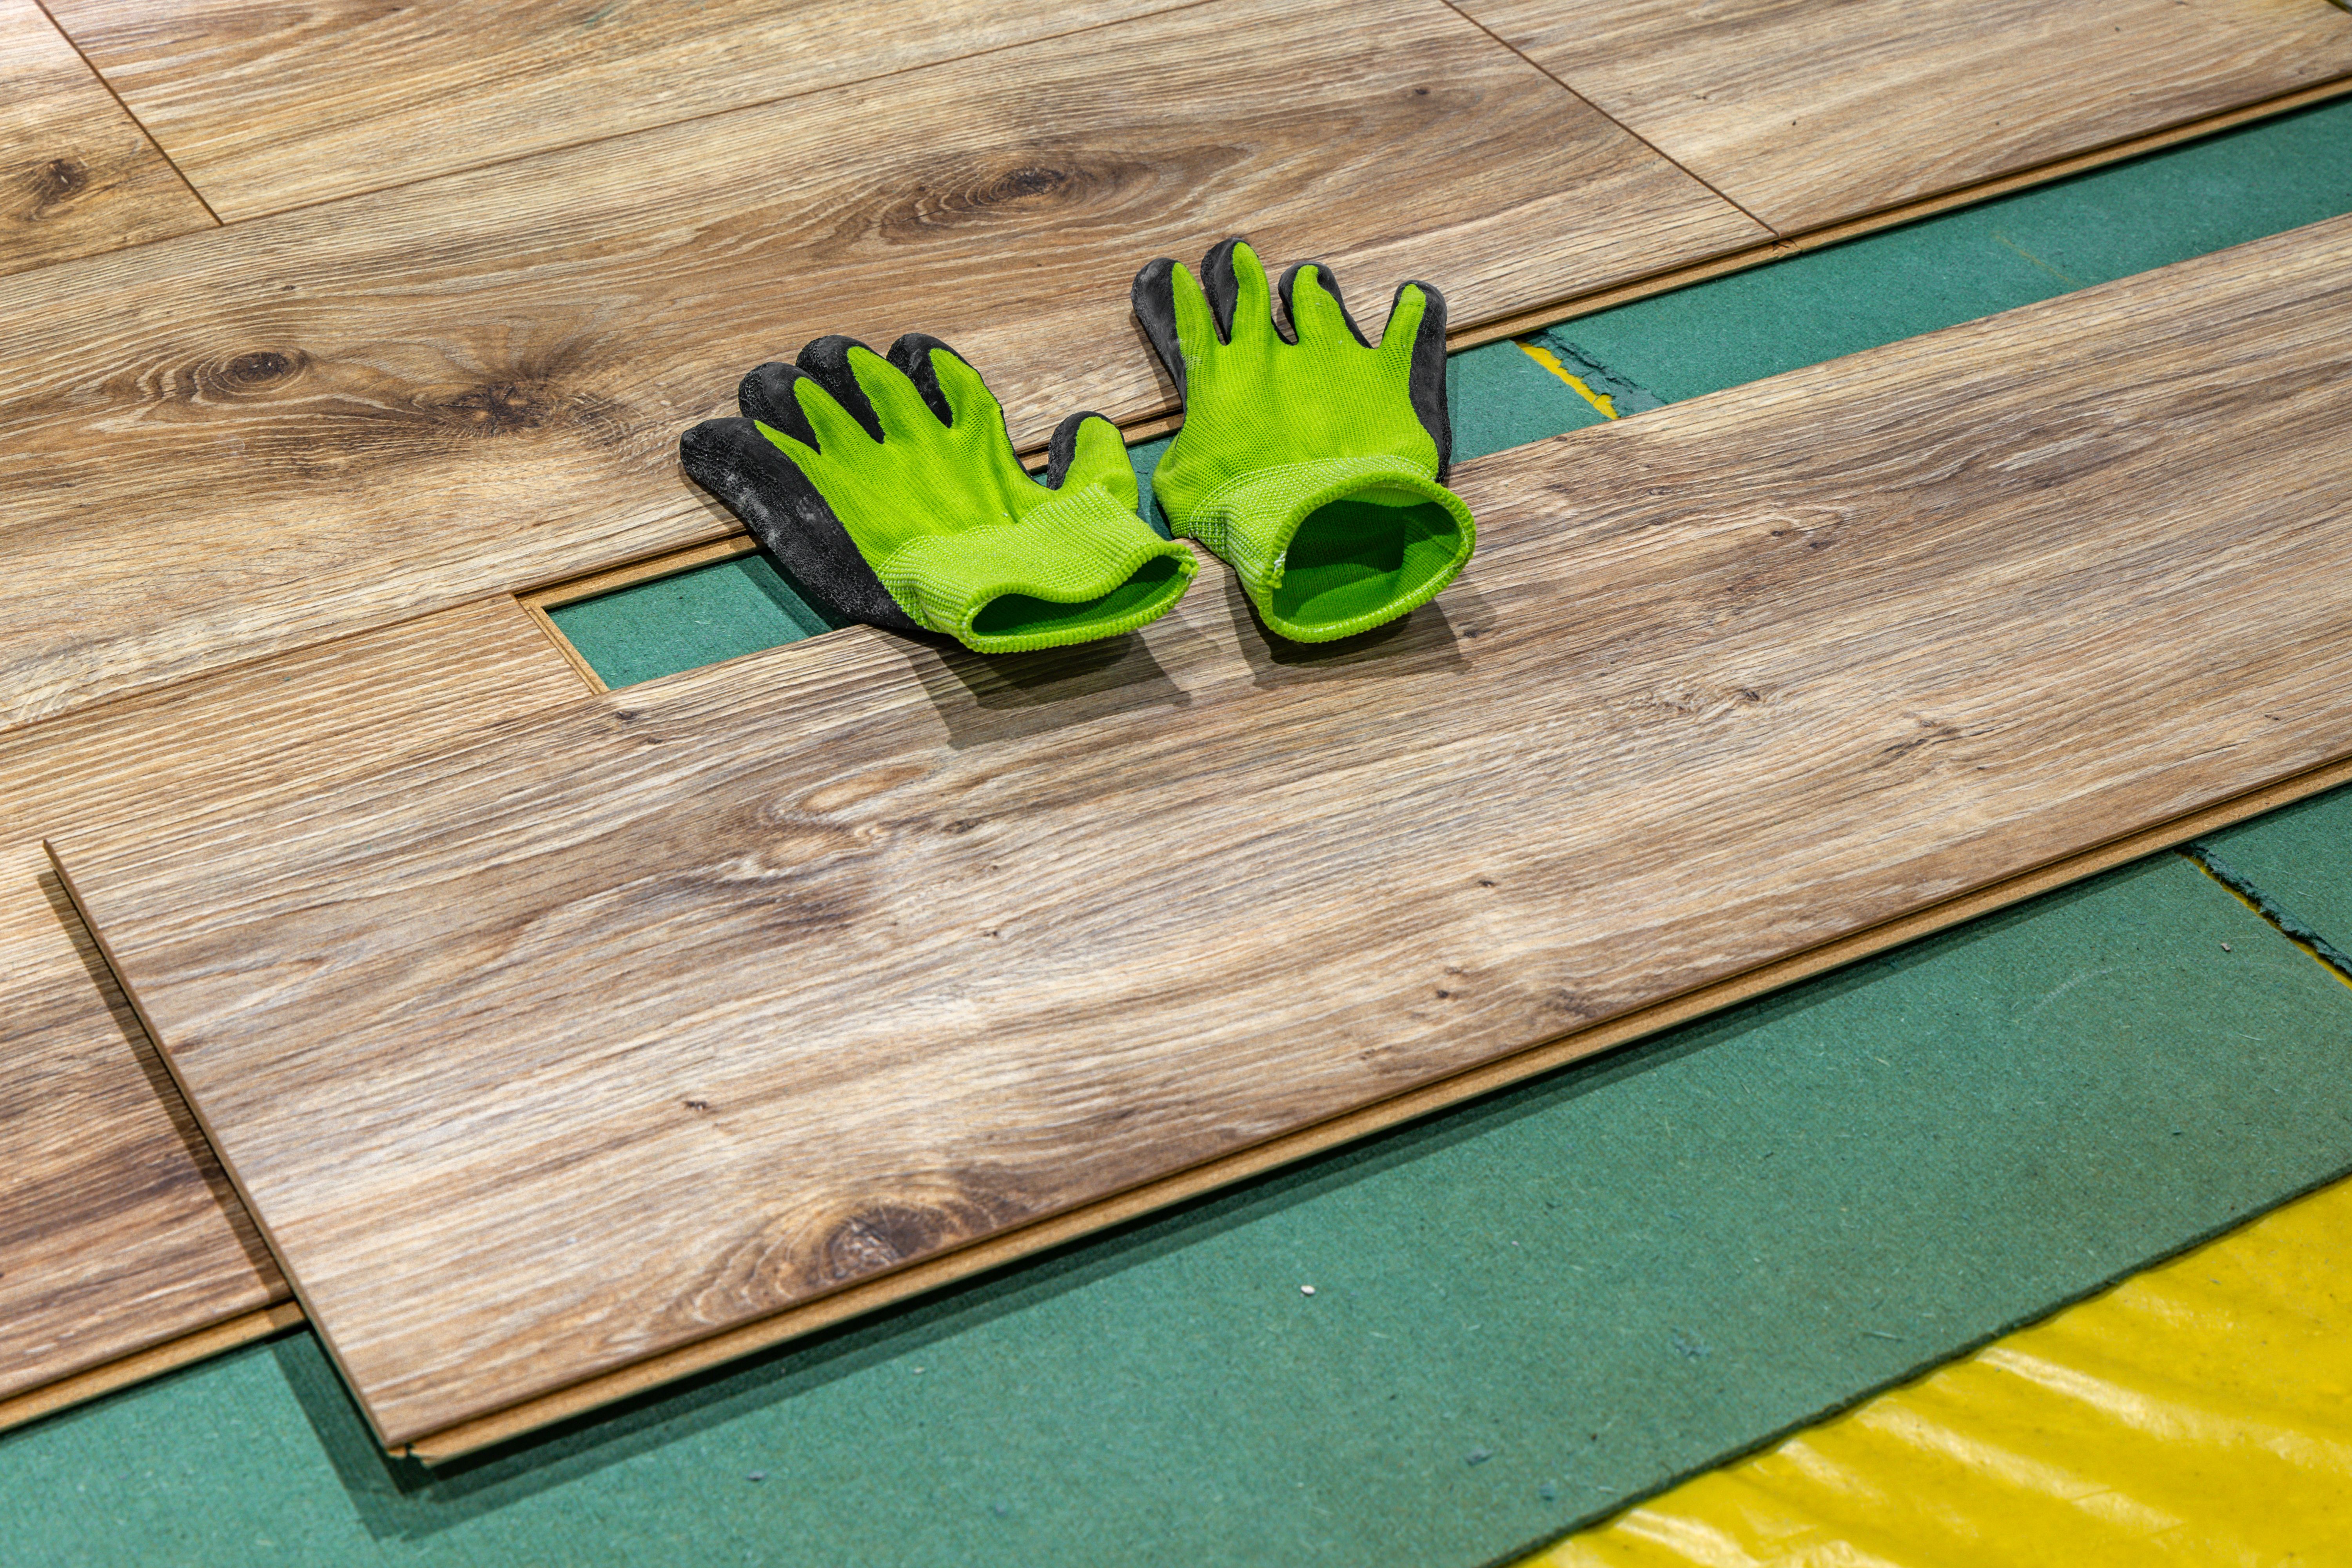
Next, install the underlayment. This layer provides cushioning and soundproofing, and it’s essential for ensuring the longevity of your laminate flooring. Roll out the underlayment across the entire floor, making sure edges meet without overlapping.
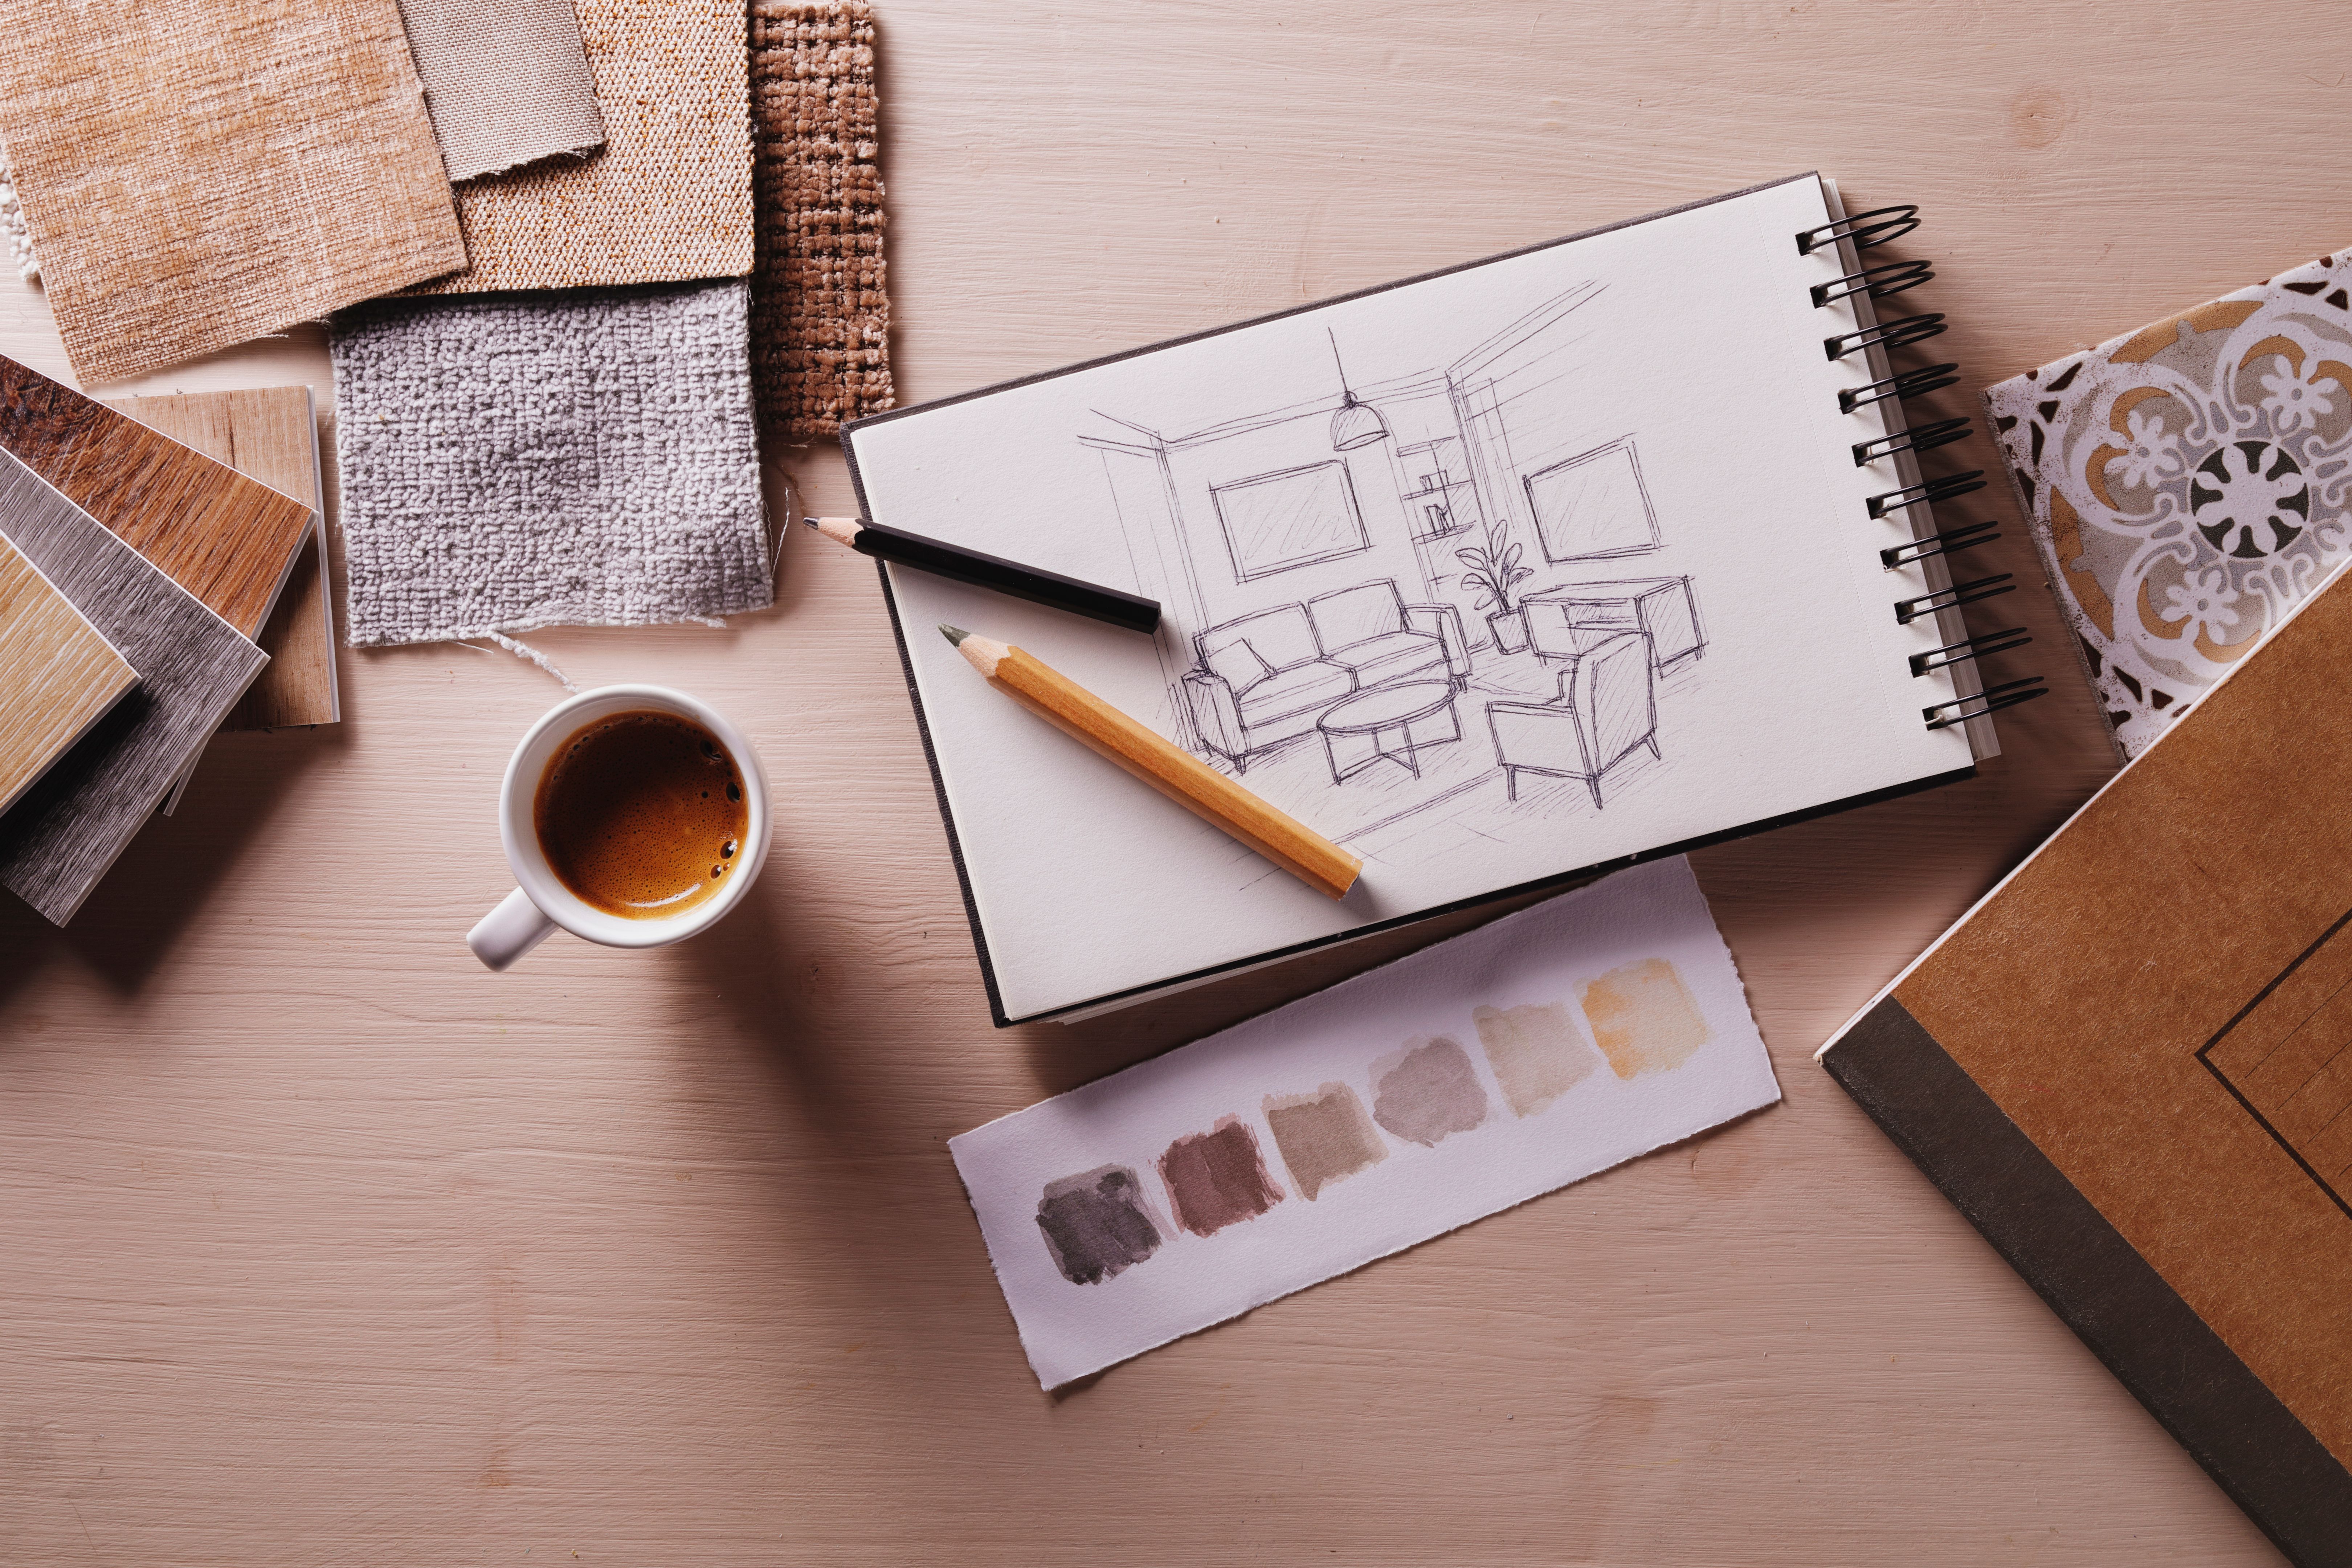
Plan Your Layout
Before laying down any planks, plan the layout of your flooring. It's important to determine the direction in which the planks will run. Typically, you’ll want to align them parallel to the longest wall or main light source to create an appealing visual flow.
Start Laying the Planks
With your layout planned, begin installing the planks. Start in one corner of the room and use spacers to maintain a small gap between the flooring and the wall. This gap allows for expansion as the flooring reacts to temperature and humidity changes.
Connect the planks by clicking them into place, following the manufacturer's instructions. Use a rubber mallet to ensure a snug fit. Continue this process, working your way across the room.
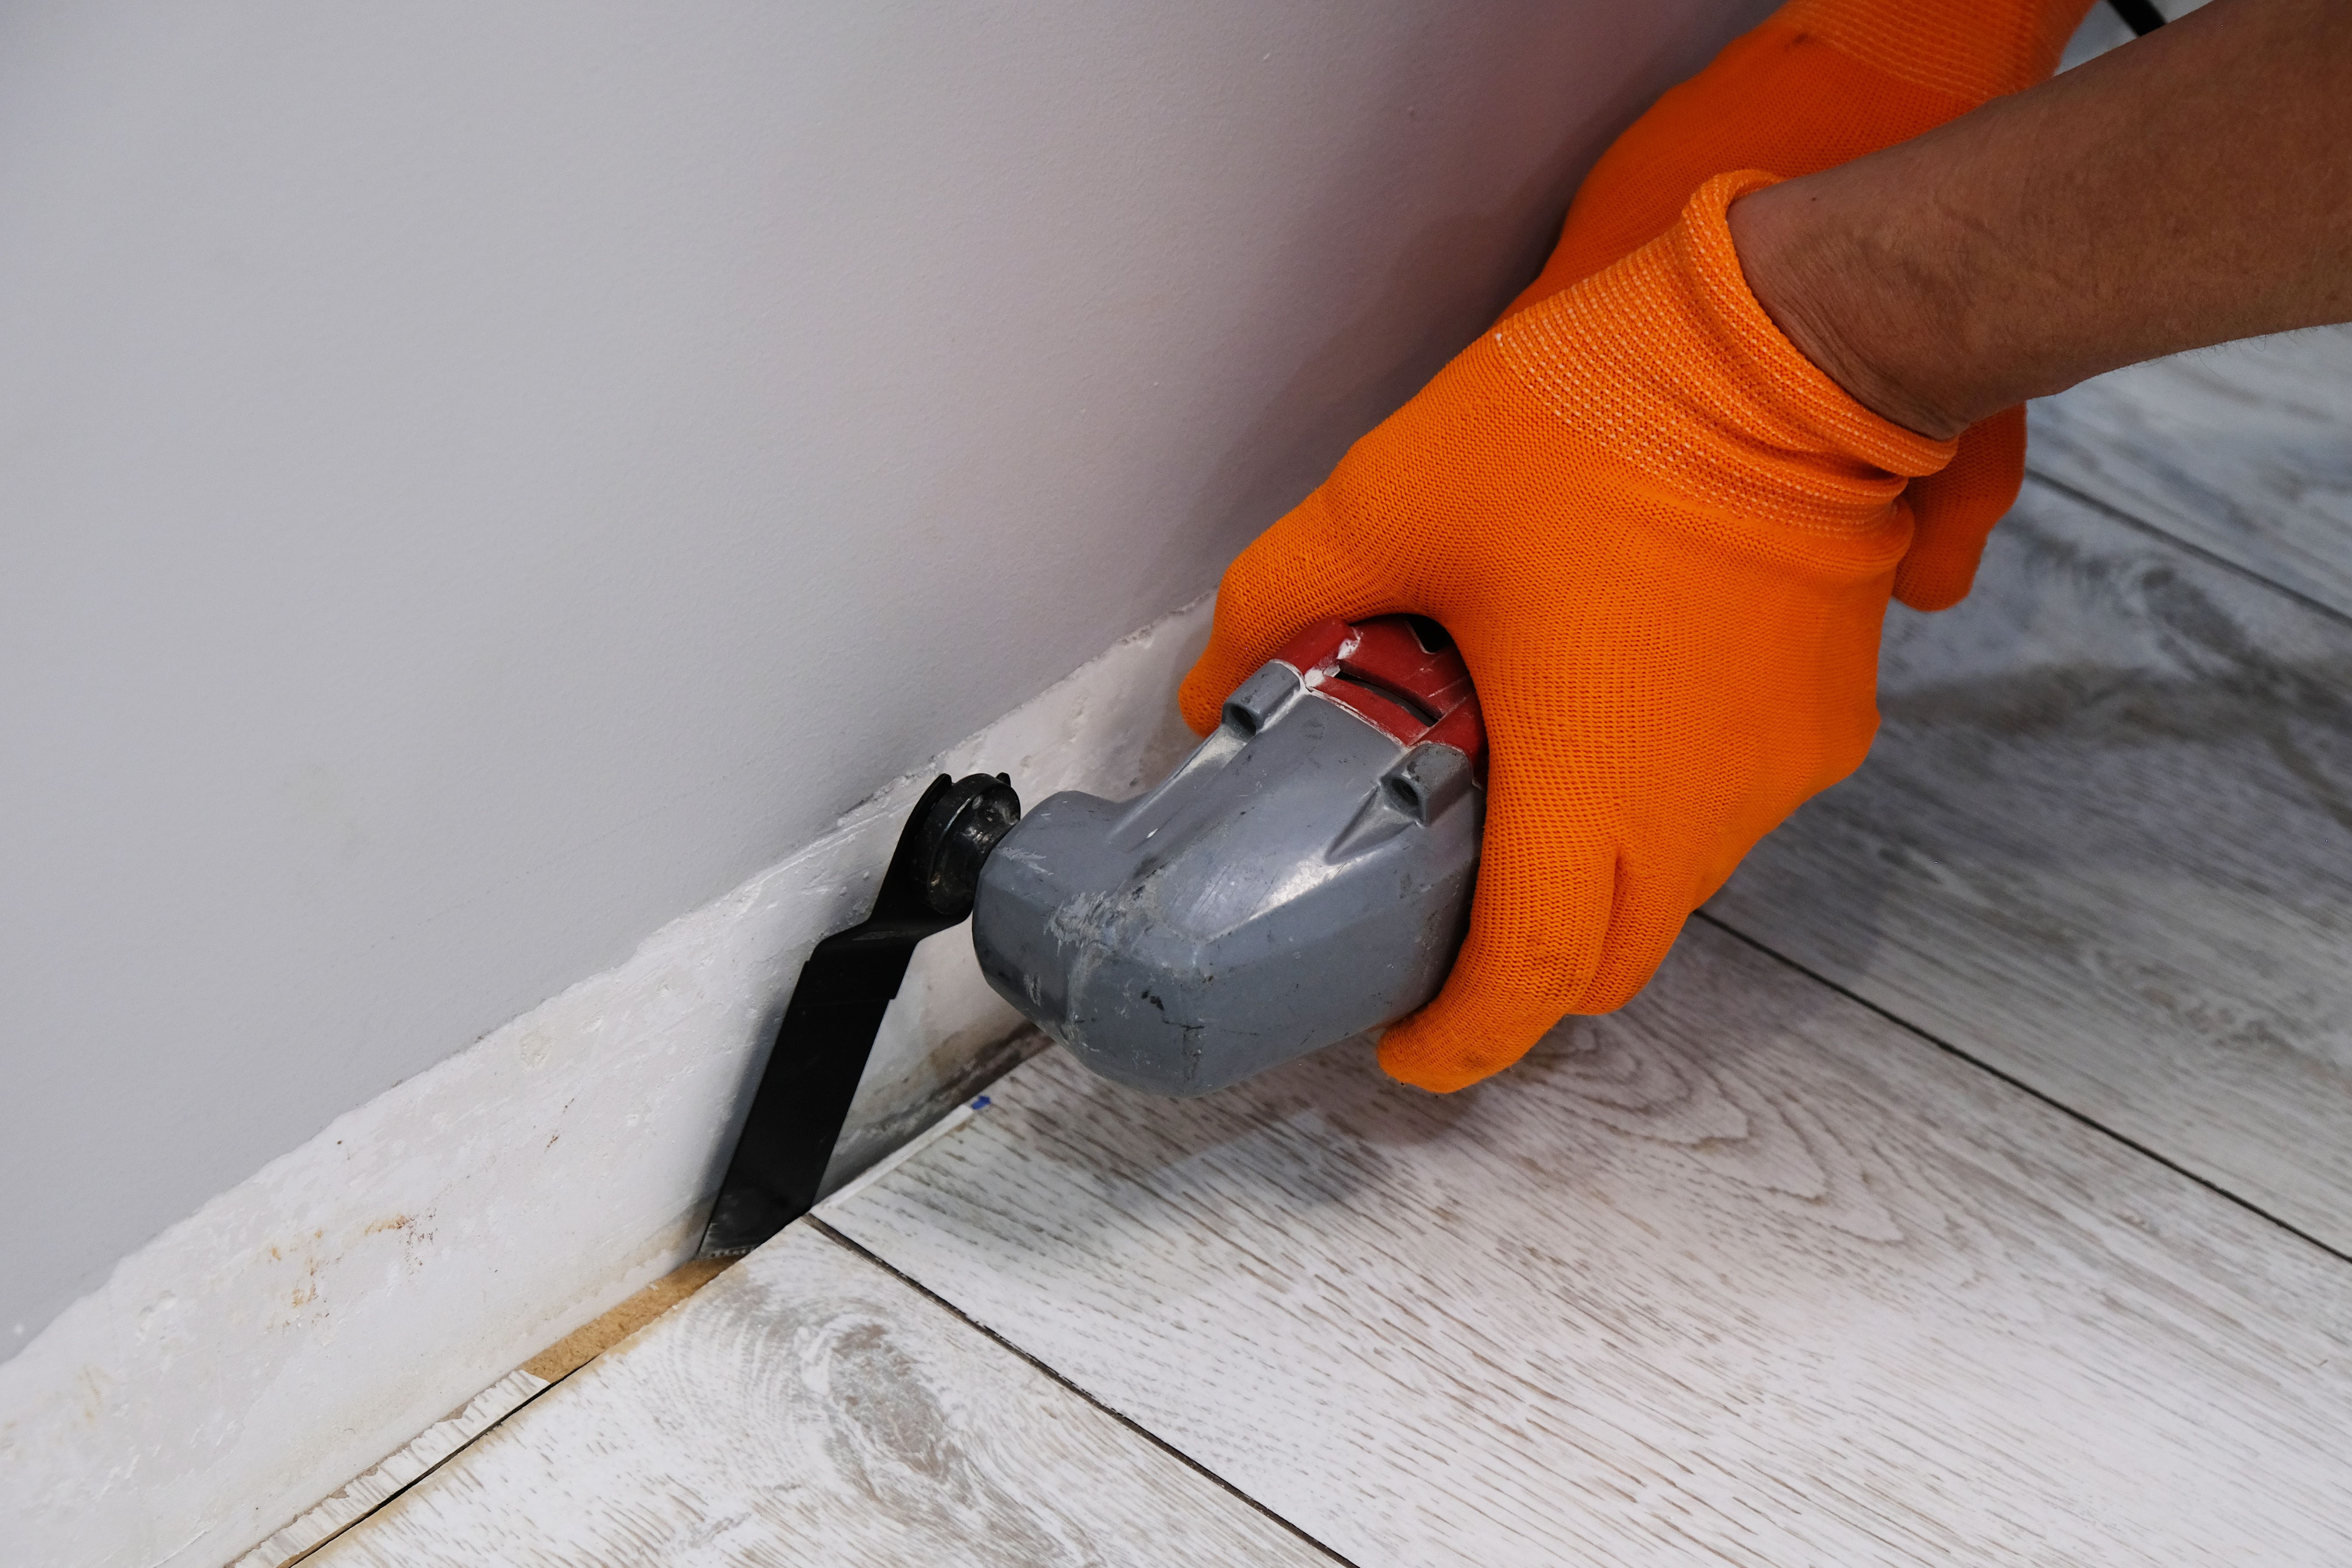
Cutting and Fitting
As you reach the walls and corners, you'll need to cut planks to fit. Measure the space, and use your saw to cut the planks to size. Remember to leave expansion gaps along the perimeter. Don’t forget to stagger the seams between rows for a more natural look.
Finish Up
Once all the planks are laid, remove the spacers and install baseboards or molding to cover the expansion gaps. This final touch not only secures the flooring but also adds a polished look to your room.
Now, step back and admire your work! With your new laminate flooring installed, your space will have a fresh, updated appearance.
Enjoy Your New Floor
Congratulations on completing your DIY laminate flooring project! With a little effort and creativity, you've added value and style to your home. Remember to follow the manufacturer's maintenance guidelines to keep your floor looking its best for years to come.
For more home improvement tips and tricks, stay tuned to our blog. Whether you're in Cincinnati or beyond, we're here to help with all your DIY needs!