
Transform Your Space: Expert Tips on Refinishing Hardwood Floors


Understanding the Basics of Hardwood Floor Refinishing
Hardwood floors are a timeless addition to any home, offering warmth and elegance. However, over time, they can lose their luster due to scratches, dents, and general wear and tear. Refinishing your hardwood floors can breathe new life into your space, restoring their original beauty and shine. Before diving into the process, it's important to understand the basics of refinishing.
Refinishing involves sanding down the surface of the wood, removing the old finish, and applying a new one. This process can be labor-intensive, but the results are well worth the effort. Not only does refinishing improve the appearance of your floors, but it also extends their lifespan.
Preparing Your Space
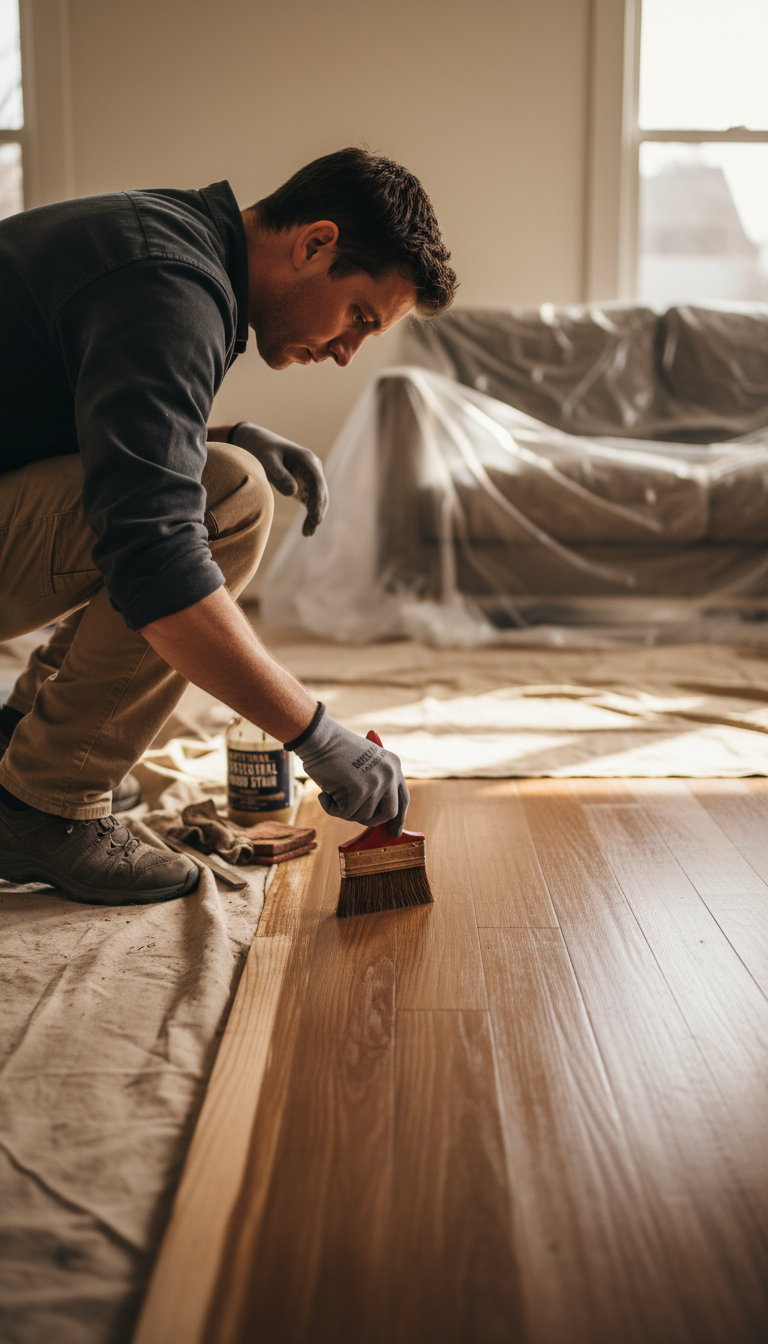
Before beginning the refinishing process, it's crucial to prepare your space properly. Start by removing all furniture and rugs from the room. This will make it easier to work and prevent any damage to your belongings. Next, clean the floor thoroughly to remove dust and debris. This step ensures a smoother finish and helps the new coat adhere better.
Once the floor is clean, inspect it for any nails or staples protruding from the wood. These need to be hammered down or removed to prevent damage to the sanding equipment. Additionally, seal off doorways and vents to minimize dust spread to other areas of your home.
Choosing the Right Finish
The finish you choose will significantly impact the look and durability of your hardwood floors. There are several options available, including oil-based polyurethane, water-based polyurethane, and wax. Each type has its own advantages and disadvantages.
Oil-based polyurethane is known for its durability and rich, warm look. However, it has a longer drying time and a stronger odor. On the other hand, water-based polyurethane dries faster and has a milder smell, making it a popular choice for DIY enthusiasts. Wax offers a natural appearance but requires more maintenance.
The Refinishing Process
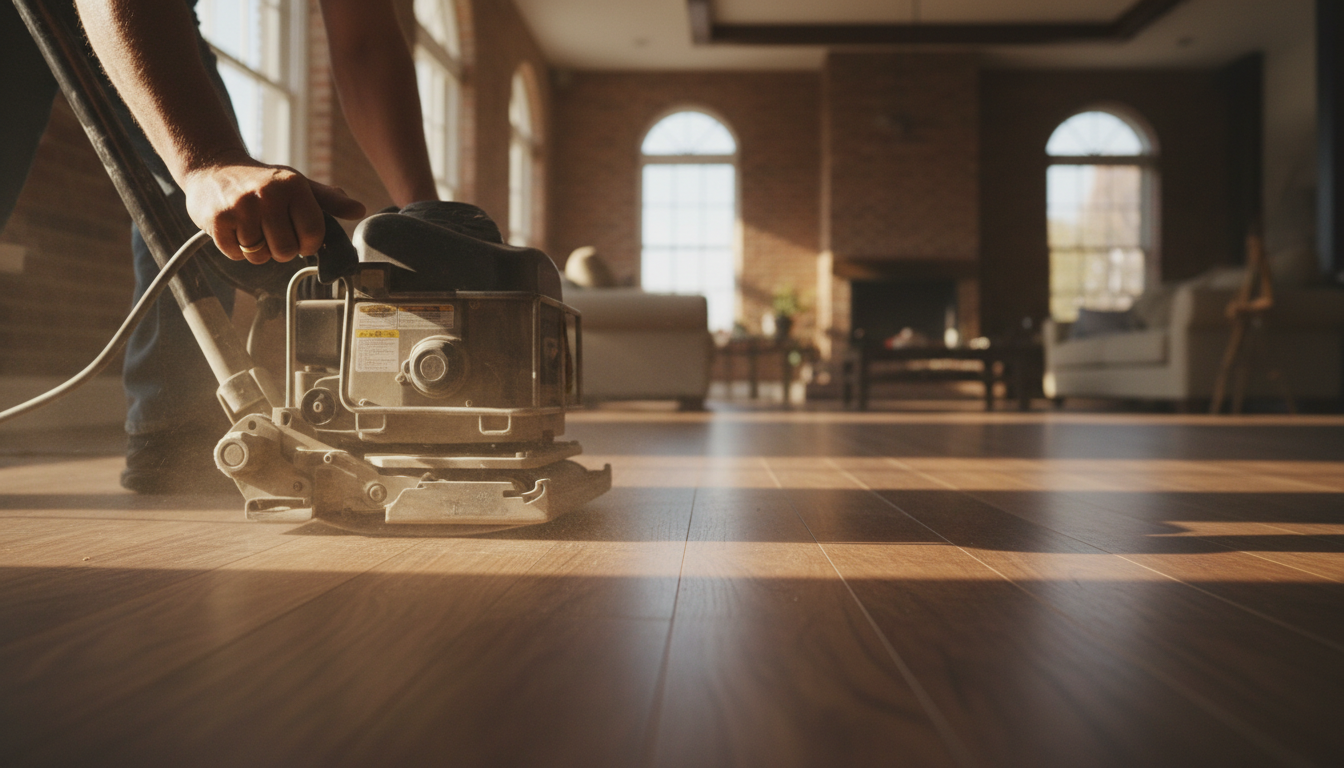
Once your space is prepared and you've chosen a finish, it's time to begin the refinishing process. Start by sanding the floor using a drum sander. This step removes the old finish and smooths out any imperfections. It's important to sand in the direction of the wood grain to avoid scratches.
After sanding, vacuum the floor thoroughly to remove any dust. Then, use a tack cloth to pick up any remaining particles. Now, you're ready to apply the new finish. Use a brush or roller to apply an even coat, following the manufacturer's instructions for drying times between coats.
Maintaining Your Refinished Floors
Proper maintenance is key to preserving the beauty of your newly refinished hardwood floors. To keep them looking their best, avoid using harsh chemicals or abrasive cleaning tools. Instead, use a damp mop with a gentle cleaner specifically designed for hardwood floors.
Place doormats at entryways to minimize dirt and grit, and use furniture pads to prevent scratches. Regularly dust and sweep the floors to prevent buildup, and consider scheduling periodic professional cleanings to maintain their condition.
When to Call a Professional
While refinishing hardwood floors can be a rewarding DIY project, there are times when it's best to call in the professionals. If your floors have deep scratches, water damage, or are particularly old, professional refinishing may be necessary to achieve the best results.
Professionals have the tools and expertise to handle complex refinishing jobs, ensuring a high-quality finish. They can also provide valuable advice on the best finishes and techniques for your specific type of wood.